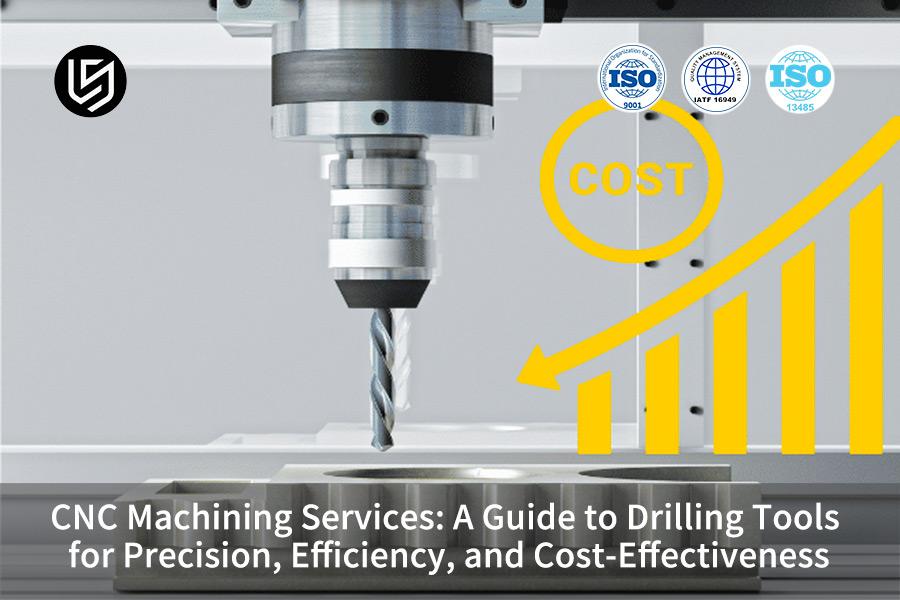
CNC machining services play an essential part in today's manufacturing process. Still, many engineers and project leaders have to confront certain difficulties related to maintaining precision in hole machining while not affecting cost and lead time. Some problems arise out of improper tool life and chip evacuation, leading to higher scrap rate and unplanned downtime, which directly relates to the overall efficiency in manufacturing and controlling cost.
CNC drilling services can surmount these difficulties by systematic solutions. We have experience in developing an efficient machining process-from the choice of a tool and its cut parameters to the strategy selection depending on the material, which allows us to reliably get tight tolerances and fine surface finishes. We provide not only precision but also stability and cost-effectiveness for competitive productions.

CNC Machining Services: Precision Hole Making Quick-Reference Guide
| Section | Core Focus | Key Points |
| 1. The Challenge | Identify areas of difficulty and pain commonly experienced by all precision hole making methods of CNC machining. | In balancing the requirements for high-precision IT7-8 grade (Ra=0.8µm), cost, and project schedule, factors such as unstable tool life, chip removal problems, and workpiece hardening can lead to excessive costs, thus impacting the success of the project. |
| 2. Root Cause | Systemic causes of the issues. | Insufficient systemic knowledge: poor matching of tool (geometry/coating/material), cutting parameters (Vc/f/cycles), and workpiece material (e.g., stainless, superalloys). Lack of practical data. |
| 3. Our Solution | A data-driven method for solving problems. | Sharing core technical information and decision criteria. Supplying exclusive test data and/or tool evaluation. Dedicated solution developments, e.g., for deep holes drilling for the aerospace industry to resolve special problems and keep costs to a minimum. |
| 4. Technical Path | Steps involved in the accomplishment of precision, efficiency, and economy technically, i.e., technically how the production process is to be achieved. | This includes a tech analysis that encompasses cooperation and investigation of the material and identification of custom tools with optimization of the technique involved. |
| 5. Case Study | Application and validation in real-world scenarios. | A real aerospace case demonstrates how our systematic methodology solves complex deep-hole CNC machining challenges, significantly improving quality, throughput, and lowering total cost. |
We are resolving your major concern for exact hole-making with an optimum costing model and a negligible effect on your delivery cycle time. This is because, through utilizing a data-based tool optimization that is especially customized to the materials to be processed for the manufactured parts, the variation on the processes done to manufacture these CNC machining parts is eliminated, thereby lowering our rejection rate on our machines.
Why Trust This Guide? Practical Experience From LS Manufacturing Experts
While the number of expert sources for the topic of CNC machining is realistically endless online, the difference between the information found on this site and many of the sources on the web is the information found here is not theoretical; it is derived from the real work of machining hard alloys over the course of over 15 years of operation. The work we are concerned with is not theoretical; the parts are needed in the aerospace industry, the medical industry, the automotive industry, etc.
Every specific methodology or technique that we propose to you is the result of experimentation itself and is compared with the best of industry standards, obtained from the best of industry associations such as Aluminium Association (AAC) and Metal Powder Industry Federation (MPIF). We are aware of the specific techniques to be applied for the processing of titanium or the maintenance of stability during the operation of Wall Milling.
When it comes to knowledge, it’s obtained through past successes and failures caused due to adverse conditions of operation. What you read here is what we apply every day to produce consistent and high integrity parts. This is the real world of machining knowledge. proven with chips, coolant, and inspection.
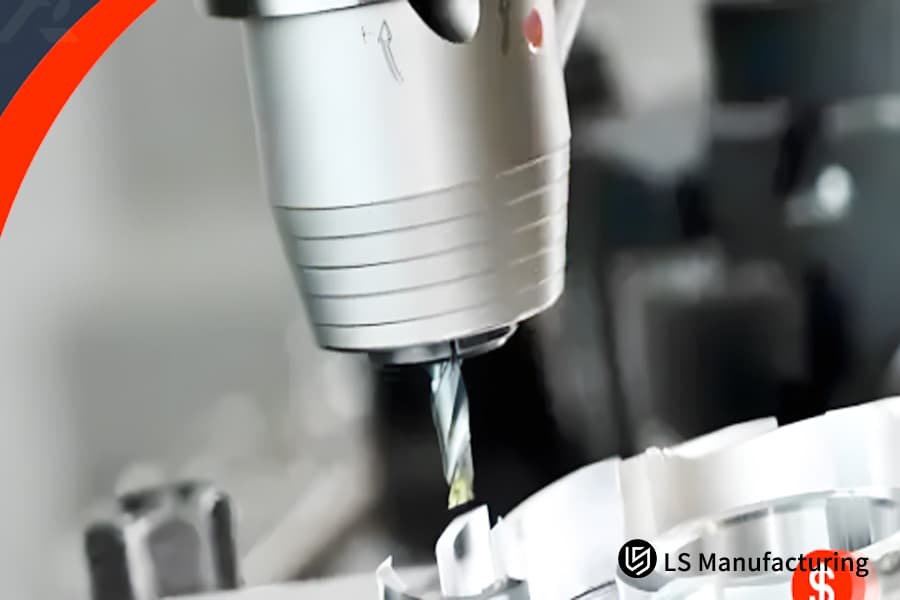
Figure 1: Detailed view of an automated drilling process in metal by LS Manufacturing
How To Choose The Most Suitable CNC Drilling Tool For Your Workpiece Material?
The right selection of the proper CNC drilling tools is of utmost importance in terms of precision drilling, tool life, and cost of productions. The strategy for material selection as described in the document is not limited to the grades of the constituent material, since it goes further to include how they interact and address specific machining concerns; hence, it is so informative and action-oriented.
| Material Family | Key Challenge | Recommended Tool Substrate | Recommended Coating | Optimal Geometry & Notes | Expected Benefit |
| Aluminum Alloys | Built-up edge, chip evacuation. | PCD (Polycrystalline Diamond) or uncoated sharp efficient drilling tools. |
Uncoated or specialized lubricous coatings. |
High helix angle (>40°), polished flutes for rapid chip removal. | Prevents material adhesion, ensures stable precision drilling and superior surface finish. |
| Stainless Steel | Work hardening, high cutting forces, heat generation. | High-toughness micro-grain carbide. | AlCrN or multilayer coatings for heat resistance. | 135° point angle with a sharp cutting edge to reduce work hardening tendency. | Reduces cutting pressure and heat, significantly improving process reliability. |
| Titanium Alloys | Low thermal conductivity, high chemical reactivity, seizure risk. | Extra-fine grain carbide with high edge strength. | TiAlN coating or uncoated premium grades. | Highly positive rake angle, reduced contact length, and specialized chip breaker. | Manages heat and prevents galling; proper selection can extend tool life by over 3x. |
| High-Temperature Alloys | Extreme hardness retention at temperature, abrasive wear. | Ultra-fine CNC machining grain carbide with high hot hardness. | Advanced AlCrN or alumina-based coatings. | Rugged, reinforced edge preparation with moderate positive rake. | Maintains edge integrity under thermal load, offering predictable wear patterns. |
| Composites | Abrasive fibers, delamination, and ply pull-out. | Diamond-coated carbide or solid carbide with abrasion resistance. | Fine-grained diamond coating is essential for carbon fiber. | Specialized point design (e.g., candlestick) and honed cutting edge. | Achieves clean hole entry/exit, minimizes fraying, and provides sufficient tool life. |
For the best in specialization as well as to assure the high performance of the tools, think of working with a LS Manufacturing supplier to create your custom drilling solutions to work in your favor as a tool to ensure competitiveness.

How To Set And Optimize The Core Technical Parameters For Precision Drilling?
In general, results obtained in conventional precision drilling operations, especially in boring long holes, are mainly controlled by fundamental speed-feed optimization and then strategic optimization of interdependent parameters. This report shows our way to solve some specific difficulties in terms of tool life, quality of the finished holes, and evacuation of chips in very critical operating conditions:
Strategic Cutting Parameter Optimization
Unlike a handbook approach, we take a parameters approach by considering the parameters as a part of the dynamic system. Accordingly, e.g., cutting 4140 steel with a HRC of 30 and a size φ10mm carbide drill bit, we begin with a test velocity of Vc=100 m/min and a feed rate of f=0.2 mm/r. There are many considerations in choosing a cutting velocity high enough to penetrate the hard materials effectively and ensure clean shearing without compromising the feed rate, which remains at a level where the feed is within the design parameters and the efficient drilling tools can provide chips that are of a manageable size. A continuous chip with a break in a 6 or 9 pattern is the first criterion of a deep hole drilling.
Peck Cycle Logic and Depth Configuration
The peck drilling cycle is critical for chip control. The state or position may not be fixed. For example, in cases where the required peck for drilling requires 5D, then the peck for the first case needs to be set at 1.0D with the reduction made in the final pecks of 0.5D without packing the cutting tools. However, reduction in cutting needs to be done in such a manner that takes into account the allowance in total depths of the cutting as the cutter peck retreats without compromising—instead of chipping off the pieces, such instances are a mark of making precision drilling.
Coolant Pressure as a Strategic Variable
For example, in one process, challenges were identified, and these challenges were concerning the process of chip welding when cutting 304 stainless steel materials, particularly when making deep holes and the best rate was applied to the cutting process in terms of feed/speed rate, and the solution to the challenges identified was the use of high pressure in the CNC machining services to enhance an improvement of 200+% by applying 70 Bar directly through the cutting tool.
Integrated Parameter Validation and Adjustment
The final phase is that of holistic validation. Here, we make observations and keep an eye out for tool fatigue, bore diameter consistency, and chip color/form. There may also be a reduction of a certain percentage of ‘Vc’ in order to increase ‘f’ productively, depending upon finish. This process of continuously fine-tuning and thus ensuring that all parameters act as one cohesive entity is what high-end precision drilling manufacturers do.
This guide encapsulates our practical experience methodology for transforming precision drilling from a simple operation into a controlled, optimized CNC machining process. The technical depth presented—from specific parameter logic to system-level integration—demonstrates our authoritative capability to solve your most complex hole-making challenges, ensuring reliability and performance that generic services cannot match.
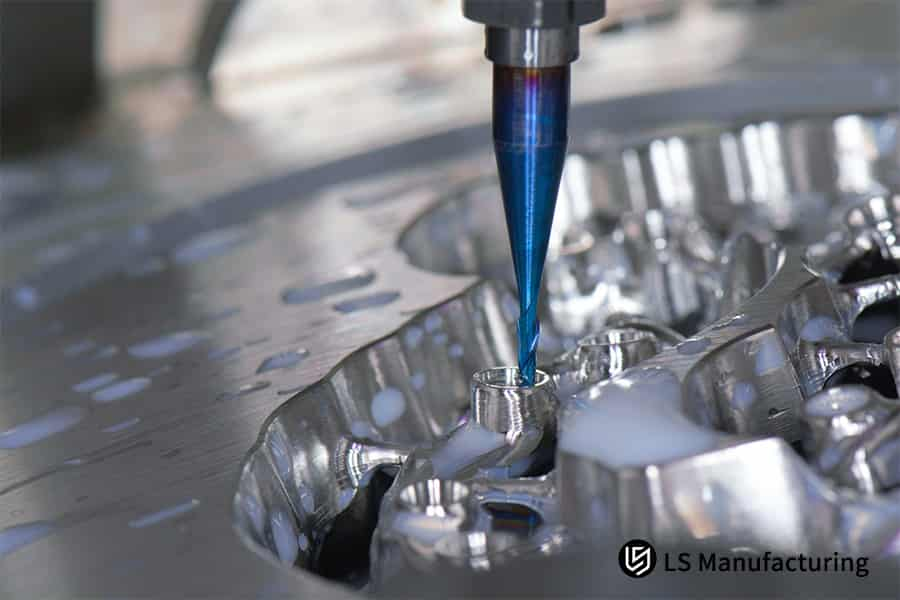
Figure 2: Metal machining with a precision blue-tipped drill and coolant by LS Manufacturing
How To Maximize Cost-Effectiveness Through Tool Management And Strategies?
In considering maximum efficiency in costs, we apply scientific tool life management techniques while taking the tool regrounds concept into account. Such focus enables us to be inexpensive regarding total cost, such as between 15% to 30% less costly. And as revealed through our comparison of cost with the past technique adopted – this will definitely render the application advantages.
Scientific Tool Life Management for Enhanced Efficiency
- Real-time monitoring: Employment of acoustic sensors to ensure monitoring based on the sound produced in the machining process.
- Chip analysis: Optimize cutting parameters by inspecting chip forms, reducing waste for cost-effective CNC machining.
- Drilling optimization: Apply precision drilling to optimize productivity along with the efficiency of the drilling tool.
Strategic Regrinding to Reduce Costs
- Regrinding protocol: Control planned restoration to former glory; greatly reduces replacement parts required.
- Quality assurance: Ensure reground tools meet high standards, supporting efficient processing supplier goals.
- Performance boost: Performance boost: Enable high-speed drilling to boost performance and reduce idle time.
Total Cost Analysis and Mindset Transformation
- Cost comparison: Present internal tables comparing savings with custom tools such as those available from LS Manufacturing to standard alternatives.
- Mindset shift: Client Education – Cost per Hole, going past the LS Manufacturing pricing.
- Transparent quoting: CNC drilling quote in more detail to demonstrate the overall savings incurred in the course of the downtime as well as the minimization of the generated scrap.
Our approach leverages technical expertise as a driver of proven cost savings through the practice of informed tool management. This, in turn, allows us to act as the industry expert in CNC machining while also offering competitive products backed by informed methodology in methodology and strategies for maximum ROI.
Root Causes Of Five Common Drilling Defects And LS Manufacturing's Immediate Solutions
While a CNC machining guide only highlight five common defects in CNC drilling services and explain these in symptoms only, and not in root causes such as the parameters and stability of the machine itself, this guide offers immediate validated solutions to ensure effective outcomes in critical complex production scenarios:
| Defect Typical | Root Cause | LS Manufacturing Solution |
| Oversized Hole Diameter | Application involvement where errors in tool wear and rigidity have occurred. | This is typically due to an error of more than 0.005mm and is related to the measure of repeatability. In resolving the problem, a thermal-shrink fixture was applied to provide the accuracy of the fixture to reduce variability by 0.02mm. |
| Poor Hole Wall Finish | Improper feed/speed and/or tool path instability. | Tools with symmetrical tool geometry, chip evacuation technologies to solve some problems encountered while deep-hole drilling. |
| Hole Position Deviation | Poor workpiece holding arrangement, with chances of incorrect machine tools used. | Apply enhanced fixture design and in-process probing to verify location, critical for micro-drilling applications. |
| Premature Tool Failure | Incorrect coating/grade for material or improper coolant application. | Provide tailored custom drilling solutions with specialized substrate/coating combinations to extend tool life by 30-50%. |
| Excessive Burr Formation | Dull cutting edge or non-optimized exit parameters. | Deploy sharp, polished edges and precise pecking cycles, achieving burr-free results in over 95% of cases. |
With this analysis, we will provide diagnostics as well as corrections to drilling problems. Consequently, our methods will ensure predictable, high-quality results. As precision drilling supplier, our methodologies will offer unbeatable advantages in competitive environments where the stakes count the most.
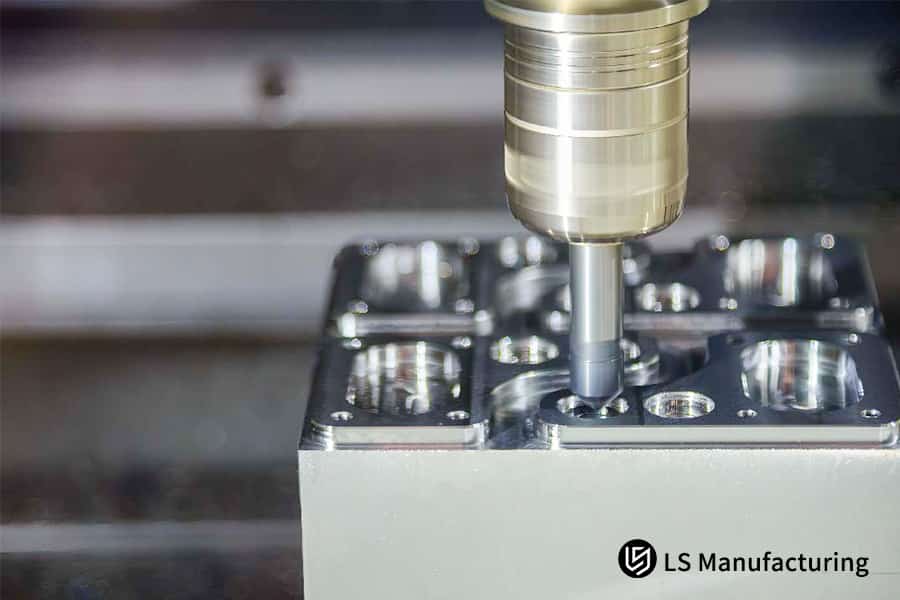
Figure 3: A metal part being accurately drilled in a detailed operation by LS Manufacturing
How To Choose The Most Reliable CNC Drilling Service Provider For Your Project?
A search for a precision drilling supplier is not a simple question of reference to the company’s overall competency list. Rather, a supplier able to tackle certain precise and critical technical challenges, like drilling high aspect ratio holes in difficult alloys with micron-level accuracy, has to be found. Within the following document, the methodological approach to overcoming a problem of the above kind will be outlined.
Deconstructing Material Behavior for Stable Drilling
We can proactively address various material-related issues, such as reduced wear resistance due to work hardening and complex problems like chip entanglement, thereby ensuring the smooth operation of our CNC turning services. Our process begins with in-depth computer simulation analysis, which allows us to evaluate the optimal feed strategies and peck cycles, and utilize coolant pressure to ensure uninterrupted CNC machining services from start to finish using our initial drill bit.
Customizing Tooling & Dynamic Process Control
For complex shapes as in the case of cross over cross holes, this problem is solved by going beyond regular equipment. An example of this is the development of a stepped drill bit. The solution is integrated with real-time monitoring on our 5-axis machine, allowing for adaptive feed adjustment to compensate for tool deflection, ensuring deep hole drilling precision.
Implementing In-Process Metrology and Verification
Real reliability can only truly be proven by carrying out the quality verification before or even during production, not after. In the critical portion of the fuel rail component, touch probe cycle methods are carried out during the drilling cycles to identify the positions where the object is borning. These are corrected via control offset via the controller, which is part of the precision with the CMM carried out during the precision drilling.
Ensuring Stability Through Proactive Supply Chain Integration
There is no technological answer without operational stability. Some of the risks concerning immediate tool failure, like in abrasives composites on materials, can be reduced by strategically holding inventories of specific tool grades of carbide tooling. Our direct interaction with our engineering authorities in tooling helps us prevent tooling leadtime delays that could have been received in weeks from our company and transform them into answers received inside of a 24 hour horizon.
This document underscores that selecting a partner hinges on their systematic problem-solving methodology, not just equipment manifests. The technical narratives herein demonstrate how LS Manufacturing manufacturer translates capability into guaranteed outcomes, providing a clear framework for how to choose a drilling service provider based on demonstrated technical authority and depth of engineered solutions.
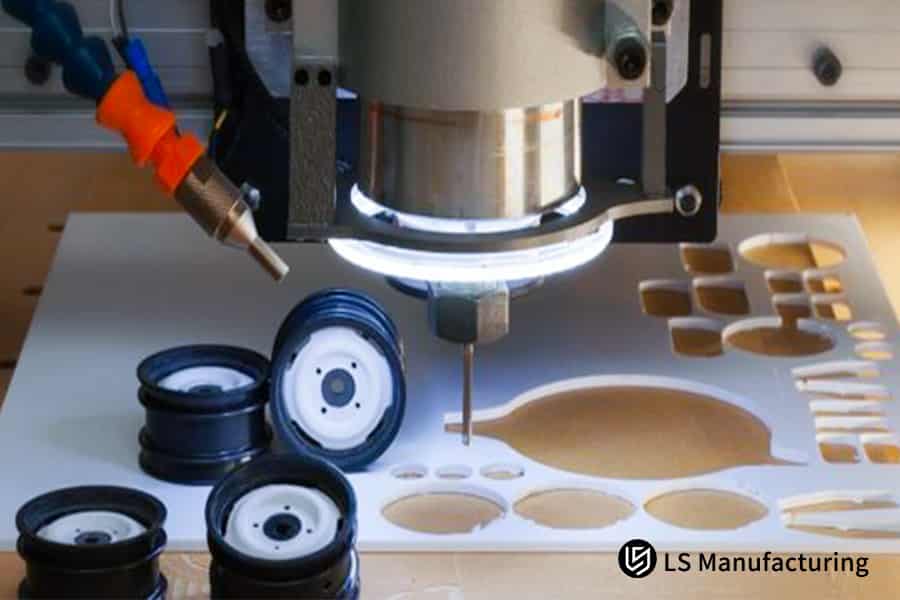
Figure 4: White cutting mat with components awaiting precision machining by LS Manufacturing
LS Manufacturing Practical Case Study: Deep Hole Machining Of Inconel 718 Engine Casing In The Aerospace Industry
The following case study provides an example of how LS Manufacturing played an important role in supporting an organization by providing a key CNC machining services that resolved a critical production issue involving deep hole drilling through a high aspect ratio channel in a high-temperature alloy, representing one of the hallmark problems facing a true precision drilling supplier:
Client Challenge
This was a high-priority issue involving the machining of φ6.5 mm holes with L/D 8 in an Inconel 718 engine casing part. The current scenario with standard carbide drills has only 3-5 hole tool life and makes an increase in the chances of micro-crack formations at the walls of the hole, leading to a scrap of about 30%.
LS Manufacturing Solution
Since the solution design came based on a specific tool developed for the task, the specification of a solid carbide drill with AlTiCrN coating, having the flute polished. For such cutting, we were able to set up the precise cutting parameters. These were Vc=25m/min, f=0.05mm/r. A precise parameter setting in a controlled peck cycle was considered for the CNC machining process.
Results and Value
This, in turn, resulted in quantifiable performance improvement as the life of individual tools increased to 25 to 30 holes, while finish quality was concretely maintained at Ra 0.6μm with complete elimination of micro-cracks. Additionally, it increased the finish product yield quality to an impressive mark of 99.5%, and also an improvement of 40% was made to the cycle time. This ensured cost benefits accrued to the clients while the project was smoothly executed.
From this case study, we learn how our philosophy helps us overcome seemingly impossible challenges in manufacture through the use of engineering and process. It shows the power of working alongside an LS Manufacturing manufacturer on critical aspects of projects for which engineering ability is equivalent to achievement and delivery.

What Key Information Is Needed To Obtain An Accurate CNC Drilling Quote?
To get the exact CNC drilling quote, we will require additional information as we will have an opportunity to come up with the best pattern to ensure that, unlike other companies, assumptions that result in changes of which end up affecting the prices of services are avoided. To perfectly acquire the custom processing price, we will require the following information:
Complete Part Documentation
- Engineering Drawings: Provide full GD&T drawings with all tolerance callouts. This allows us to plan the correct sequence of precision drilling and machining operations from the first step.
- 3D Models: Supplemental CAD data enables precise toolpath simulation and deep-hole drilling strategy development, preventing collisions and ensuring feature accuracy.
Material Specifications & Volume Forecast
- Material Grade/Condition: Provide the actual alloy, condition, and vendor if the information is fielded. The material condition will define the tool type and operational parameters to best suit our CNC machining services.
- Projected Quantities: This is necessary in order to be able to recommend the right kind of fixturing along with optimized work flows, etc.
Critical Requirements & Timeline
- Quality/Certification Needs: Any certifications that are needed, such as NADCAP, AS9100, etc., as well as testing reports, such as CMM reports, should be specified here so that our quality plan meets your requirements from our first LS Manufacturing quote.
- Target Lead Time: Define your target lead times. Defining the lead times helps us to identify the production capacity and commit to a particular viable date.
Thus, by working together and having all of the information available, we can then proceed beyond price generation and develop a value engineering approach to produce our manufacturing solution. The process is utilized to insure that the LS Manufacturing quote you receive is technically proven and designs an efficient and effective product on even your toughest parts.
FAQs
1. What is the precision drilling tolerance capability for LS Manufacturing?
Similarly, precision drilling positional tolerance under standard circumstances can be achieved to an accuracy of only ±0.01mm, whereas the diameter tolerance of the previously drilled holes can vary until the IT7/8 level depending on the depth of holes penetrated in the material under consideration.
2. What is the Minimum Order Quantity (MOQ)?
We have flexible services with the ability to support small-batch rapid prototyping during the prototype phase, and the MOQ starts at 1 piece with no restrictions on MOQ during the mass production phase.
3. How do you approach the protection of intellectual properties during the manufacturing process?
We sign strict NDA's, apply closed-type project management, partition-type workshop management, as well as delete all the processes contained in the data just in case you wish so in an effort to protect your very own design.
4. How long does delivery usually take?
The time taken to produce such a prototype could be as few as 3 to 5 business days, while the time taken to do a mass production could be as long as 2 to 4 weeks based on the complexity level of the particular work. There is also an option to do the expediting work.
5. Do you offer free preliminary design DFM analysis?
Yes, we highly recommend, and free DFM analysis is given to our clients, which would result in cost savings as well as prevent any type of risk in the process of manufacture.
6. What drilling materials are generally employed?
We possess different types of cutters such as high-speed steel, cobalt high speed steel, solid carbide cutters, and indexed cutters with special tooling options in the form of diamond coatings as per your need.
7. Is ultra-deep hole processing with depth-to-diameter ratio over 10 possible?
Yes, we have deep hole drilling equipment with corresponding ability processing. The machine can drill a gun deep hole depth/diameter ratio L/D up to 30 or even higher. It can also achieve straightness and surface quality.
8. How to conduct quality inspection and control?
We control all the processes: the first piece inspection, in-process inspection, final product inspection, by using measuring machines and devices, optical imaging devices, surface roughness measuring devices, etc. We will provide detailed inspection reports.
Summary
Successful CNC drilling operations require precise control in tooling, parameters, materials, and strategy involved in the drilling processes. Through its case studies in the aerospace industry, LS Manufacturing proves its engineering solutions surpass the benchmark, effectively addressing key operations challenges in product manufacturing processes.
Therefore, are you or your company struggling with quality issues, efficiency concerns, and cost worries with drilling methods involved? Or maybe you have a brand-new project at hand that necessitates the services of an outstanding manufacturing company? We urge you to take immediate action! All it requires is clicking here to "Get Your Tailored Drilling Solution and Quote," then we can offer you a preliminary DFM analysis and quote in the quickest time, in just 4 hours.
Unlock peak drilling precision and efficiency—request your optimized CNC machining quote from LS Manufacturing today.
📞Tel: +86 185 6675 9667
📧Email: info@longshengmfg.com
🌐Website:https://lsrpf.com/
Disclaimer
The contents of this page are for informational purposes only. LS Manufacturing services There are no representations or warranties, express or implied, as to the accuracy, completeness or validity of the information. It should not be inferred that a third-party supplier or manufacturer will provide performance parameters, geometric tolerances, specific design characteristics, material quality and type or workmanship through the LS Manufacturing network. It's the buyer's responsibility. Require parts quotation Identify specific requirements for these sections.Please contact us for more information.
LS Manufacturing Team
LS Manufacturing is an industry-leading company. Focus on custom manufacturing solutions. We have over 20 years of experience with over 5,000 customers, and we focus on high precision CNC machining, Sheet metal manufacturing, 3D printing, Injection molding. Metal stamping,and other one-stop manufacturing services.
Our factory is equipped with over 100 state-of-the-art 5-axis machining centers, ISO 9001:2015 certified. We provide fast, efficient and high-quality manufacturing solutions to customers in more than 150 countries around the world. Whether it is small volume production or large-scale customization, we can meet your needs with the fastest delivery within 24 hours. choose LS Manufacturing. This means selection efficiency, quality and professionalism.
To learn more, visit our website:www.lsrpf.com.